 I’ve been operating under the Bitstream Foundry banner for a few months now, and I have to admit that it’s been absolutely wonderful to return to hands-on work with SharePoint. It really didn’t take long for me to realize just how much I missed solving problems and making SharePoint do what customers/clients wanted it to do. Some of you may think I’m crazy for saying this, but it’s good to be back in the trenches.
And the Cycle Begins Again
A little background for this post: in the early days of SharePoint 2010, it didn’t take much exposure for me to sour on the User Profile Service (UPS) and User Profile Service Application (UPA).
Brief note: I lump the UPS, UPA, and related pieces under the “UPS” acronym for this post. It’s not technically accurate, but it keeps things simpler for readability.
The UPS was buggy, problematic, and easily broke if you looked at it the wrong way. I know that the bugs were ultimately ironed-out and that the UPS was “fixed” to a large extent, but I stopped playing with it before it got to that point. I never really needed it for anything I wanted to do, and so I did my best ostrich impersonation anytime anything related to the User Profile Service and its underlying plumbing came up.
It’s somewhat ironic, then, that I was only back into hands-on work for about a month before I found myself thrown into the UPS with SharePoint 2013. A client wanted me to put together a script that they could use to perform the post-setup configuration for the UPS in a farm once the UPS instance had been created (through AutoSPInstaller – which also happens to be my “go to” tool for SharePoint setup). The client wanted the script to configure built-in profile properties, create custom properties, create user sub-types, and most importantly: configure synchronization connections. End-to-end, the script needed to do everything that an admin might normally have to do by hand in order to get the UPS ready for production usage.
The Twist
UPS configuration via PowerShell isn’t new territory. There’s a pretty substantial base of online material to draw from for guidance and inspiration (starting with TechNet), but my task was novel in one very important regard: the synchronization connections I was setting up were using SharePoint 2013’s new Active Directory Import mode.
If you’re not familiar with Active Directory Import mode (“AD Direct Mode”), pause your reading here and head over to Spence Harbar’s blog for a thorough and extremely well-written overview. It is a top-notch post on Active Directory Import Mode and provides a foundation for the rest of this post.
If you’ve scripted-out the creation of UPS synchronization connections through PowerShell under SharePoint 2010, then you’re undoubtedly familiar with the Add-SPProfileSyncConnection cmdlet and its syntax (taken straight from TechNet):
[sourcecode language=”powershell” toolbar=”false” wraplines=”true”]
Add-SPProfileSyncConnection [-ProfileServiceApplication] <SPServiceApplicationPipeBind> -ConnectionDomain <String> -ConnectionForestName <String> -ConnectionPassword <SecureString> -ConnectionSynchronizationOU <String> -ConnectionUserName <String> [-AssignmentCollection <SPAssignmentCollection>] [-Confirm [<SwitchParameter>]] [-ConnectionClaimIDMapAttribute <String>] [-ConnectionClaimProviderIdValue <String>] [-ConnectionClaimProviderTypeValue <String>] [-ConnectionNamingContext <String>] [-ConnectionPort <Int32>] [-ConnectionServerName <String>] [-ConnectionUseDisabledFilter <$true | $false>] [-ConnectionUseSSL <$true | $false>] [-WhatIf [<SwitchParameter>]]
[/sourcecode]
As I started putting together my script and looking for usage examples covering the Add-SPProfileSyncConnection cmdlet, I naturally came to another of Spence Harbar’s posts. Spence’s post was the first sign of trouble for me. Even though Spence’s post was written in the SharePoint 2010 time frame, he noted a number of limitations with the Add-SPProfileSyncConnection cmdlet versus creating sync connections within Central Administration. For example, there was no way to specify a DisplayName parameter with Add-SPProfileSyncConnection; you were stuck with a name that was automatically assigned based on the connection’s associated domain name.
The Wall
The DisplayName limitation was annoying, but it wasn’t a show-stopper for me. With a little more investigation, though, the real roadblocks quickly made themselves known.
If you were to compare the fields and options that are available when adding a sync connection through SharePoint Central Administration (shown on the right) with those that are available when adding a connection with the Add-SPProfileSyncConnection, you’d see some significant gaps. The ones that stood between me and a configuration script that did what I needed it to do were the following:
- The inability to use the “Filter out disabled users” switch
- The inability to specify an LDAP filter to restrict imported users
The ability to filter disabled users was really a convenience; I could just as easily extend my LDAP filter to include the following:
(!userAccountControl:1.2.840.113556.1.4.803:=2)
… if I wanted to filter disabled users without using the checkbox that was available in Central Admin. Without the ability to specify an LDAP filter in the Add-SPProfileSyncConnection call, though, I was stuck. I needed some way to specify an LDAP filter to restrict imported users for the connections I was going to be creating.
I spent a lot of time hunting through forums and looking for information online, but the hunt proved fruitless. No matter how I approached the problem and tinkered with PowerShell, I came up empty. Falling back to the SharePoint Server Object Model, the ConnectionManager class (in the Microsoft.Office.Server.UserProfiles namespace), and its related types got me no further, either. Absolutely nothing in the APIs seemed to expose a way to add Active Directory Import sync connections in a way that exposed the properties I needed to specify.
I had a hard time believing it, but it seemed that the only way to create an Active Directory Import-based sync connection that allowed me to specify a DisplayName and LDAP filter was to use SharePoint Central Administration.
Huh?
The Source of the Problem
Since Central Administration supplied the mechanism to create sync connections with the desired parameters, I knew that SharePoint had the plumbing to support what I wanted to do somewhere in its assemblies. I just needed to figure out where that functionality was. So, I did what I typically do in these sorts of situations: I pulled out Reflector and went diving into SharePoint’s internals.
I took a look at both the EditDSServer.aspx page in the _layouts/15 folder (which is the Central Admin page for creating sync connections) and the Add-SPProfileSyncConnection cmdlet, did some backtracking, and eventually found myself back at the ConnectionManager class – no big surprise there. The somewhat surprising part, though, was what I found (shown to the left).
It appeared that the ConnectionManager class sported several methods to support the addition of sync connections: AddActiveDirectoryConnection, AddActiveDirectoryImportConnection, AddBusinessDataCatalogConnection, and AddLdapConnection. The one that I was interested in was the second one – AddActiveDirectoryImportConnection:
[sourcecode language=”csharp” toolbar=”false” wraplines=”true”]
internal void AddActiveDirectoryImportConnection(ConnectionType type, Guid dcId, string displayName, string server, bool useSSL, bool useDisabledFilter, string ldapFilter, string accountDomain, string accountUsername, SecureString accountPassword, List<DirectoryServiceNamingContext> namingContexts, string spsClaimProviderTypeValue, string spsClaimProviderIdValue, string adClaimIDMapAttribute)
[/sourcecode]
The big problem was that method was marked internal – meaning it wasn’t publicly exposed to outside callers.
Tracing things through, I found that the AddActiveDirectoryImportConnection method was ultimately accessible through two different public entry points: the Central Admin EditDSServer.aspx page and the Add-SPProfileSyncConnection PowerShell cmdlet. The EditDSServer.aspx page call was pretty direct, but the PowerShell cmdlet call ended up channeling through the UpdateCreateSyncConnection method on the Microsoft.Office.Server.Administration.UserProfileApplication class before making its way to the AddActiveDirectoryImportConnection method. And the UpdateCreateSyncConnection method was the source of the problem.
UpdateCreateSyncConnection is a method that coordinates the creation and modification of different sync connection types – not just the Active Directory Import connection type I was focused on. Most of the parameters that are needed to create a sync connection are available on the method signature, but not all of them.
[sourcecode language=”csharp” toolbar=”false” wraplines=”true”]
internal bool UpdateCreateSyncConnection(string connectionName, string connectionForestName, string connectionDomain, string connectionUserName, SecureString connectionPassword, string connectionServerName, int connectionPort, bool connectionUseSSL, bool connectionUseDisabledFilter, string connectionNamingContext, string connectionSynchronizationOU, string connectionClaimProviderTypeValue, string connectionClaimProviderIdValue, string adClaimIDMapAttribute, bool connectionFilterOutUnlicensed)
[/sourcecode]
Notice the lack of any LDAP filter parameter.
Looking through the method to where it actually calls into the AddActiveDirectoryImportConnection internal method reveals how it handles passing-in an LDAP filter … or rather, how it doesn’t handle it:
[sourcecode language=”csharp” toolbar=”false” wraplines=”true”]
connectionManager.AddActiveDirectoryImportConnection(ConnectionType.ActiveDirectoryImport, Guid.NewGuid(), connectionName, connectionForestName, connectionUseSSL, connectionUseDisabledFilter, string.Empty, connectionDomain, connectionUserName, connectionPassword, namingContexts, filterOutUnlicensed, connectionClaimProviderTypeValue, connectionClaimProviderIdValue, adClaimIDMapAttribute);
[/sourcecode]
See the string.Empty parameter in the method call? It’s in the same position where the AddActiveDirectoryImportConnection method expects an LDAP filter. The UpdateCreateSyncConnection method basically “drops the ball” and does absolutely nothing with an LDAP filter. If code had attitude, I envisioned this as the UpdateCreateSyncConnection method throwing up its virtual arms and saying “whatever.”
That crashing noise? My efforts thus far slamming into a wall.
Working Around the Limitation
Since I’d officially proven (to myself, anyway) that the Add-SPProfileSyncConnection cmdlet wasn’t going to work for my purposes, and I wasn’t going to be able to script out the desired action through Central Administration, I was looking at going against the AddActiveDirectoryImportConnection method myself directly from within my PowerShell script.
Insert a giant “ewwwwwwwww” sound here. Why? Because the method was marked internal. Since the method wasn’t publicly accessible, I’d need to use Reflection to call it.
I’ve used Reflection when I’ve had to in the past, and it certainly works, but it’s always had something of a “dark art” feel to me. And the times when I have used Reflection heavily have been within managed C# code – not PowerShell. Reflection is very persnickety regarding object types and method signatures, and C# (with its strict typing) makes it relatively painless to manage these issues. PowerShell, on the other hand, is pretty loose with typing and coercion – not ideal for working with Reflection-based parameter specification and method invocation.
Dark arts or not, I was bound and determined to provision my sync connections through PowerShell. So onward I marched.
The Result
I’m happy to say that this story does have a happy ending. The script that I’m sharing (Add-SPProfileDirectSyncConnection) to provision Active Directory Import connections appears below. It’s not the prettiest thing around, but hey – it works.
A word of caution before you pluck this out and start using it: the script goes directly against an internal method on the ConnectionManager class instead of a publicly exposed method, so I want to stress that this is a “use at your own risk” script. Anytime I have the option of using publicly accessible APIs, I do … but I had no other choice in this case.
[sourcecode language=”powershell” toolbar=”true” wraplines=”true”]
<#
.SYNOPSIS
Add-SPProfileDirectSyncConnection.ps1
.DESCRIPTION
Establishes a new Active Directory Direct user profile synchronization connection for SharePoint 2013.
.NOTES
Author: Sean McDonough
Last Revision: 27-June-2013
#>
param (
[parameter(mandatory=$true,position=1)][object]$userProfileApp,
[parameter(mandatory=$true)][string]$displayName,
[parameter(mandatory=$true)][string]$forestName,
[parameter(mandatory=$true)][string]$syncOU,
[parameter(mandatory=$false)][switch]$useSsl = $false,
[parameter(mandatory=$false)][switch]$useDisabledFilter = $false,
[parameter(mandatory=$false)][string]$ldapFilter = "",
[parameter(mandatory=$true)][string]$domain,
[parameter(mandatory=$true)][string]$username,
[parameter(mandatory=$true)][string]$password,
[parameter(mandatory=$false)][string]$claimProviderType = "Windows",
[parameter(mandatory=$false)][string]$claimProviderId = "Windows",
[parameter(mandatory=$false)][string]$claimIdMapAttribute = "samAccountName"
)
# Pseudo-constants
$DEFAULT_SITE_SUBSCRIPTION_ID = [Guid]::Empty
$INVOKE_ATTRIBUTES_NON_PUBLIC_MEMBERS = ([System.Reflection.BindingFlags]::NonPublic -bOr [System.Reflection.BindingFlags]::Instance)
# Handles all activities associated with direct-mode UPA sync connection provisioning
function ProvisionDirectSyncConnection($userProfileApp, $displayName, $forestName, $syncOU, $useSsl, $useDisabledFilter, $ldapFilter, $domain, $username, $password, $claimProviderType, $claimProviderId, $claimIdMapAttribute)
{
try
{
Write-Host "Preparing to create new synchronization connection: " -NoNewline
Write-Host $displayName -ForegroundColor blue
$serviceContext = [Microsoft.SharePoint.SPServiceContext]::GetContext($userProfileApp.ServiceApplicationProxyGroup, $DEFAULT_SITE_SUBSCRIPTION_ID)
$upConfigMgr = New-Object Microsoft.Office.Server.UserProfiles.UserProfileConfigManager($serviceContext)
if ($upConfigMgr.ConnectionManager.Contains($displayName)) {
Write-Host (" – Sync connection already exists. No action taken.") -ForegroundColor yellow
} else {
# Some additional parameter setup and cleanup
$connType = [Microsoft.Office.Server.UserProfiles.ConnectionType]::ActiveDirectoryImport
$dcId = [Guid]::NewGuid()
$securePassword = [System.Security.SecureString](ConvertTo-SecureString $password -AsPlainText -Force)
if ($useSsl) {
$isSslUsed = $true
} else {
$isSslUsed = $false
}
if ($useDisabledFilter) {
$isDisabledFilterUsed = $true
} else {
$isDisabledFilterUsed = $false
}
# Parameters needed for naming context creation
$isDomain = $true
$excludedOU = New-Object System.Collections.Generic.List[[System.String]]
$includedOU = New-Object System.Collections.Generic.List[[System.String]]
$includedOU.Add($syncOU)
$filterOutUnlicensed = New-Object System.Collections.Generic.List[[System.Boolean]]
$filterOutUnlicensed.Add($false)
$preferredDCs = New-Object System.Collections.Generic.List[[System.String]]
$useOnlyPreferredDCs = $false
# Perform an LDAP lookup to get the object ID for the target domain.
$ldapLookupContext = "LDAP://" + $forestName
$ldapUsername = $domain + "\" + $username
$objDomain = New-Object System.DirectoryServices.DirectoryEntry($ldapLookupContext, $ldapUsername, $password)
if ($useSsl) {
$objDomain.AuthenticationType = [System.DirectoryServices.AuthenticationTypes]::SecureSocketsLayer
}
$ldapDomainDn = $objDomain.distinguishedName
$ldapDomainGuid = New-Object Guid($objDomain.objectGUID)
# Creation of the objects needed to properly specify the OU for the sync connection
$dnCtx = New-Object Microsoft.Office.Server.UserProfiles.DirectoryServiceNamingContext(
$ldapDomainDn, $forestName, $isDomain, $ldapDomainGuid, $includedOU, $excludedOU, $preferredDCs, $useOnlyPreferredDCs)
$namingContext = New-Object System.Collections.Generic.List[[Microsoft.Office.Server.UserProfiles.DirectoryServiceNamingContext]]
$namingContext.Add($dnCtx)
$ncParam = [System.Collections.Generic.List[Microsoft.Office.Server.UserProfiles.DirectoryServiceNamingContext]]$namingContext
# Since the method we’re about to invoke is internal, some hoops have to be jumped through
# to call it via PowerShell and Reflection
$paramTypes = @([Microsoft.Office.Server.UserProfiles.ConnectionType], [System.Guid], `
[System.String], [System.String], [System.Boolean], [System.Boolean], [System.String], `
[System.String], [System.String], [System.Security.SecureString], `
[System.Collections.Generic.List[Microsoft.Office.Server.UserProfiles.DirectoryServiceNamingContext]], `
[System.String], [System.String], [System.String])
$addConnMethodInfo = [Microsoft.Office.Server.UserProfiles.ConnectionManager].GetMethod("AddActiveDirectoryImportConnection", `
$INVOKE_ATTRIBUTES_NON_PUBLIC_MEMBERS, $null, $paramTypes, $null)
$methodParams = @($connType, $dcId, $displayName, $forestName, $isSslUsed, $isDisabledFilterUsed, $ldapFilter, `
$domain, $username, $securePassword, $ncParam, $claimProviderType, $claimProviderId, $claimIdMapAttribute)
$addConnMethodInfo.Invoke($upConfigMgr.ConnectionManager, $methodParams)
#Still here? Looks like everything worked.
Write-Host (" – Sync connection successfully provisioned.") -ForegroundColor green
}
}
catch [Exception] {
Write-Error $Error[0]
$err = $_.Exception
while ( $err.InnerException ) {
$err = $err.InnerException
Write-Host $err.Message
}
}
}
# Ensure SP PS snap-in is loaded and launch provisioning method
$spCmdlets = Get-PSSnapin Microsoft.SharePoint.PowerShell -ErrorAction silentlycontinue
if ($spCmdlets -eq $null) {
Add-PSSnapin Microsoft.SharePoint.PowerShell
}
ProvisionDirectSyncConnection $userProfileApp $displayName $forestName $syncOU $useSsl $useDisabledFilter $ldapFilter $domain $username $password $claimProviderType $claimProviderId $claimIdMapAttribute
[/sourcecode]
The script accepts a variety of parameters and has a couple of switches:
- -userProfileApp. A reference to the User Profile Service Application instance for which the sync connection will be provisioned. This parameter is required.
- -displayName. A string containing the “friendly name” that will appear for the sync connection within Central Administration. This parameter is required.
- -forestName. A string that contains the fully qualified domain name (FQDN) for the domain that hosts the user profiles that will be imported by the sync connection. This parameter is required.
- -syncOU. A string that contains the full distinguished specification of the Active Directory organizational unit (OU) where target user accounts (for import) reside. This parameter is required.
- -useSsl. A switch that can be used to direct the script to use Secure Sockets Layer (SSL) transport encryption when connecting to Active Directory for synchronization operations and LDAP lookups. If this switch is not specified, connections are not made using SSL.
- -useDisabledFilter. If this switch is included, the user profile selection process that takes place for the sync connection being established will filter out user accounts that are disabled. If this switch is not specified, both active and inactive user accounts will be imported during synchronization.
- -ldapFilter. A string that contains an LDAP (Lightweight Directory Access Protocol) filter that will be applied to restrict the accounts which will be imported during synchronization. Creating this type of filter is made easier with the use of a tool like ADSI Edit. This parameter is optional.
- -domain. A string containing the NetBIOS name of the domain where the profile synchronization account resides. This string is combined with the –username parameter to form a domain + username account specification. This parameter is required.
- -username. A string containing the username of the profile synchronization account. This parameter should include the username only without a domain name qualifier. A domain name is specified separately through the –domain parameter. This parameter is required.
- -password. A string containing the plaintext password of the profile synchronization account. This parameter is required.
- -claimProviderType. A string identifying the type of authentication provider that is used to encode user profile account names. Common values for this parameter are Windows and Trusted. This parameter is optional; if unspecified, a value of Windows is used.
- -claimProviderId. A string specifying the name or ID of the claims provider in-use. When a –claimProviderType of Windows is used, this parameter value is also typically Windows. If a –claimProviderType of Trusted is used, then this parameter value is used in conjunction with that value to identify the specific auth provider instance used. This parameter is optional and will default to Windows if unspecified.
- -claimIdMapAttribute. A string that specifies the claims ID or field used by the claim provider. This parameter is specific to the claim provider, and in Windows authentication scenarios will usually be samAccountName. This parameter is optional.
The following is an example of how you might use the Add-SPProfileDirectSyncConnection script in a larger script that provisions user profile Active Directory Direct sync connections.
[sourcecode language=”powershell” toolbar=”true” wraplines=”true”]
$spCmdlets = Get-PSSnapin Microsoft.SharePoint.PowerShell -ErrorAction silentlycontinue
if ($spCmdlets -eq $Null) { Add-PSSnapin Microsoft.SharePoint.PowerShell }
$upa = Get-SPServiceApplication | where {$_.TypeName -eq "User Profile Service Application"}
Add-SPProfileDirectSyncConnection.ps1 -userProfileApp $upa `
-displayName "Domain Users" `
-forestName "testdomain.com" `
-syncOU "OU=Test Domain Users,DC=testdomain,DC=com" `
-useDisabledFilter `
-ldapFilter "(&(objectCategory=person)(objectClass=user)(mail=*)(!userAccountControl:1.2.840.113556.1.4.803:=65536))" `
-domain "TESTDOMAIN" `
-username "spProfileSync" `
-password "Pa$$word1"
[/sourcecode]
Some tips and information regarding the script and its usage:
- Before executing this script, ensure that the account under which the script is being run has Full Control connection permission to the User Profile Service Application. This is set by highlighting the UPA instance in the “Manage Service Applications” page (ServiceApplications.aspx) in Central Admin, clicking the Permissions button on the toolbar, and granting Full Control permissions to the desired account as shown on the right. If this step is not performed, the script will error-out.
- If a sync connection with the supplied –displayName already exists, the script will exit. It will not attempt to create another connection with the same name.
- Ensure that the user profile synchronization account specified has the necessary replication permissions with the target user profile store. If the account lacks these permissions, the sync connection will be properly established but profiles will not be imported. Both TechNet and Spence Harbar covers this permission requirement in their various articles/posts, and it’s the same one that was needed in SharePoint 2010.
Final Word
My goal with this post was to (hopefully) save some of you the hassle I encountered while trying to automate a task that I thought would have been trivial … but wasn’t. Please let me know if this ends up helping you!
And although this script has been tested, I don’t have the facilities to test every combination of parameter and environment. If you find something that’s wrong or should be refactored, please let me know and I’ll perform an update.
Have fun!
References and Resources
- Company: Bitstream Foundry
- TechNet: Overview of the User Profile service application in SharePoint Server 2013
- CodePlex: AutoSPInstaller
- TechNet: Use Windows PowerShell cmdlets to configure the User Profile service in SharePoint Server 2013
- Harbar.net: First Look: SharePoint Server 2013 Active Directory Import
- TechNet: Add-SPProfileSyncConnection
- Harbar.net: Managing Sync Connections with *-SPProfileSyncConnection cmdlets in Service Pack 1
- TechNet Windows Server Forums: LDAP Query for all active users
- MSDN: ConnectionManager class
- Red Gate Software: .NET Reflector 8
- MSDN: Reflection in the .NET Framework
- TechNet: ADSI Edit (adsiedit.msc)


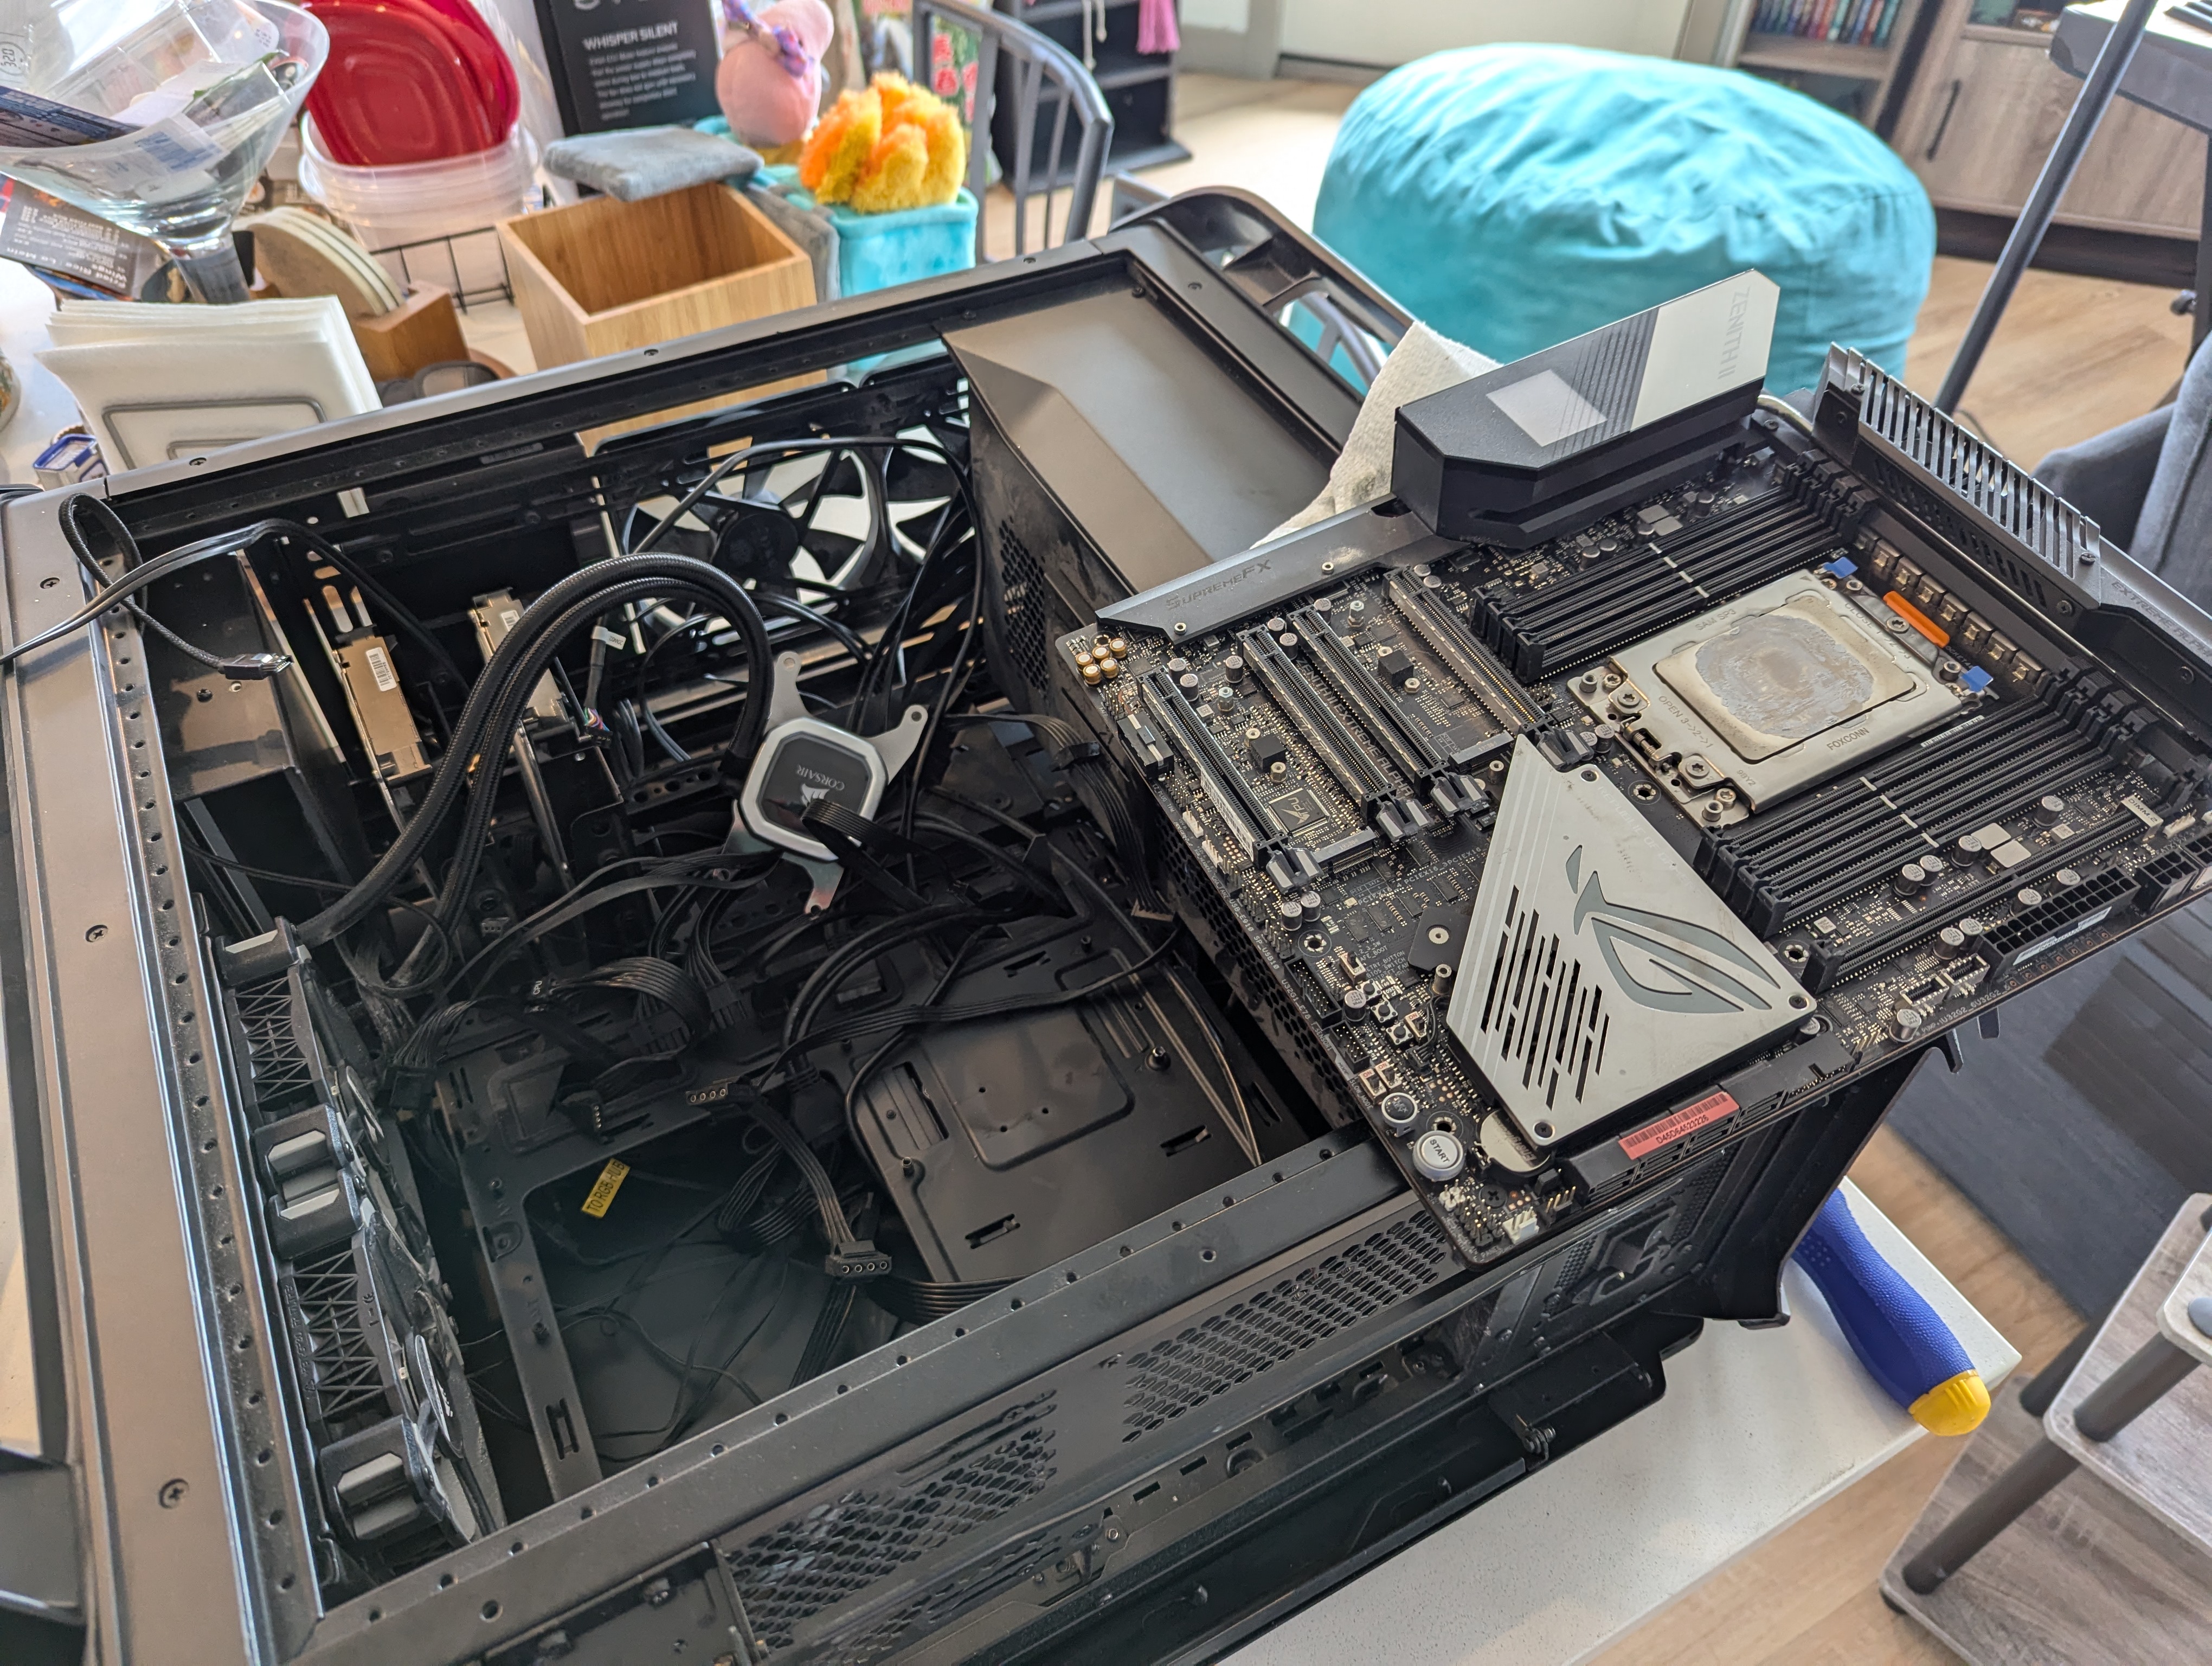
 I’m not ashamed to admit that I’ve gone between Intel and AMD for the last 35 years. When Intel got a little too comfortable and wasn’t innovating at a decent pace (or price), I remember building a workstation on an AMD Athlon FX-51. At that point in time, it seemed that AMD had “kicked Intel in the Jimmy” and had taken the lead.


 I’ve been operating under the
  UPS configuration via PowerShell isn’t new territory. There’s a pretty substantial base of online material to draw from for guidance and inspiration (


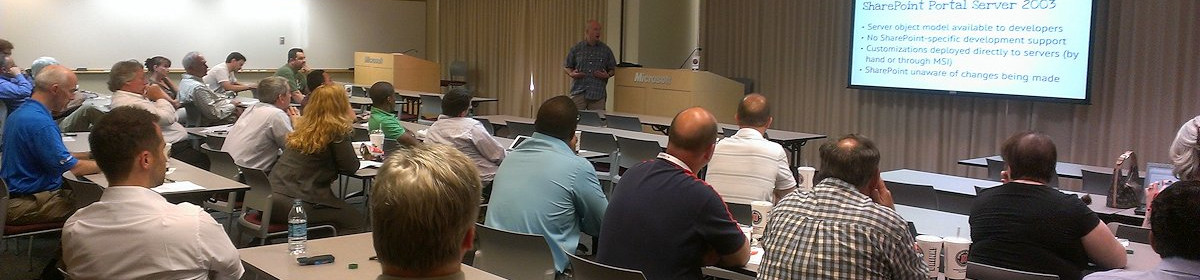
 I’ve been doing a bit of build-out with the new SharePoint 2013 Preview in anticipation of some development work, and


 and failing")

 You’ve undoubtedly heard the news: SharePoint 2013 is coming. The preview is available right now, and you can


