

Ah, Threadripper – We Barely Knew Ya!
So, those of you who know me (and follow me on some form of social media) have probably gotten a good chuckle or two, I suspect, out of my mention of AMD’s “Threadripper” processor and my happy name for my own – simply calling it, of course, “Threadripper.” In fact, the one guy that immediately comes to mind when I say “Threadripper” is Spencer Harbar – who I think I endlessly tortured with the name. He’s been a genuine sport about it, though.
I am, however, sorry to announce that Threadripper died before its time.
What Happened?
Well, simply put, Threadripper gave up the ghost unceremoniously about two weeks ago on a Saturday night / Sunday morning. I don’t know why it died, and it took some diagnostic work to even determine that it was clinically dead. When I attempted to power it on, I wasn’t seeing anything on my monitors, and I also wasn’t hearing a POST complete (with it’s standard “beep”).
I swapped out memory. I swapped out the graphics card. At the end of the day, though, I was seeing no signs of life.
I did, however, finally pay attention to a motherboard QLED light I should have seen prior to that point – an annoying little red light on my motherboard. After checking it out, it pretty much told me the story: my CPU was dead.

Wait … What?!?!
So for those of you who are aware of hardware assembly trials and circumstances, a dead CPU is a relatively rare thing; after all, CPUs are typically not the component that is dead when troubleshooting an unknown system problem.
Am I confident it was the CPU? Truthfully, I don’t have any certainty in that declaration – aside from what the motherboard QLED told me. The one thing I knew, though, is that I couldn’t afford a new 3970x or sTRX4 motherboard. That was well outside of my price range, so I needed to start getting pragmatic about my options for getting my system functional again.
Modern Technology to the Rescue!

After deciding that the Threadripper series of chips (and their accessories) were simply too expensive for me going forward, I came up with an alternate strategy.
I turned my attention back to Intel and what they’d achieved over the last five years. Truth be told, I found a mighty compelling story on that side of the fence.
My Threadripper 3970x had 32 processor cores (64 hyper-threads), and those are what I frankly relied on the system to provide. I live inside of locally hosted VMs on a daily basis, and the chip did a solid job of accommodating that.
So naturally, I was looking to approximate what I had as best as I could without unnecessary re-purchasing of things like memory. I had 128GB of DDR4 RAM, so how could I re-use that?
Hello Intel!
 I’m not ashamed to admit that I’ve gone between Intel and AMD for the last 35 years. When Intel got a little too comfortable and wasn’t innovating at a decent pace (or price), I remember building a workstation on an AMD Athlon FX-51. At that point in time, it seemed that AMD had “kicked Intel in the Jimmy” and had taken the lead.
That being said, my love of both Intel and AMD is roughly equal. Frankly, I try to make my picks based on performance, and the baton has gone back and forth over the years. Right now, Intel is not a company I can argue with – nor is AMD, to be honest. At the end of the day, it largely came down to cost.
Let’s start with the basics. Right now, a 14th gen Intel chip and motherboard is still cheaper than what I’ve have had to spend on an sTRX4 motherboard for AMD – no joke. Last time I priced them online, I couldn’t get an sTRX4 motherboard for less than about $600. And such a motherboard would be of no use to me given that I suspect the CPU chip to have issues. If you want a heart attack, look up prices for an AMD Threadripper 3970x …
So I jumped sides on this round, so to speak.
What Did I Get?
So after doing the math, I opted for an Intel Core i9 14900KF CPU and an Asus TUF Gaming Z790-Plus WiFi D4 motherboard. One big benefit of this particular motherboard is that it uses DDR4 memory instead of the newer DDR5 memory. Normally, I’d seek to go with DDR5, but I had 128GB of DDR4 memory from Threadripper that was still usable. And for the first time in a long time, financial constraints kept me reined in on unnecessary expenditures.
(Thread)Ripping it Apart
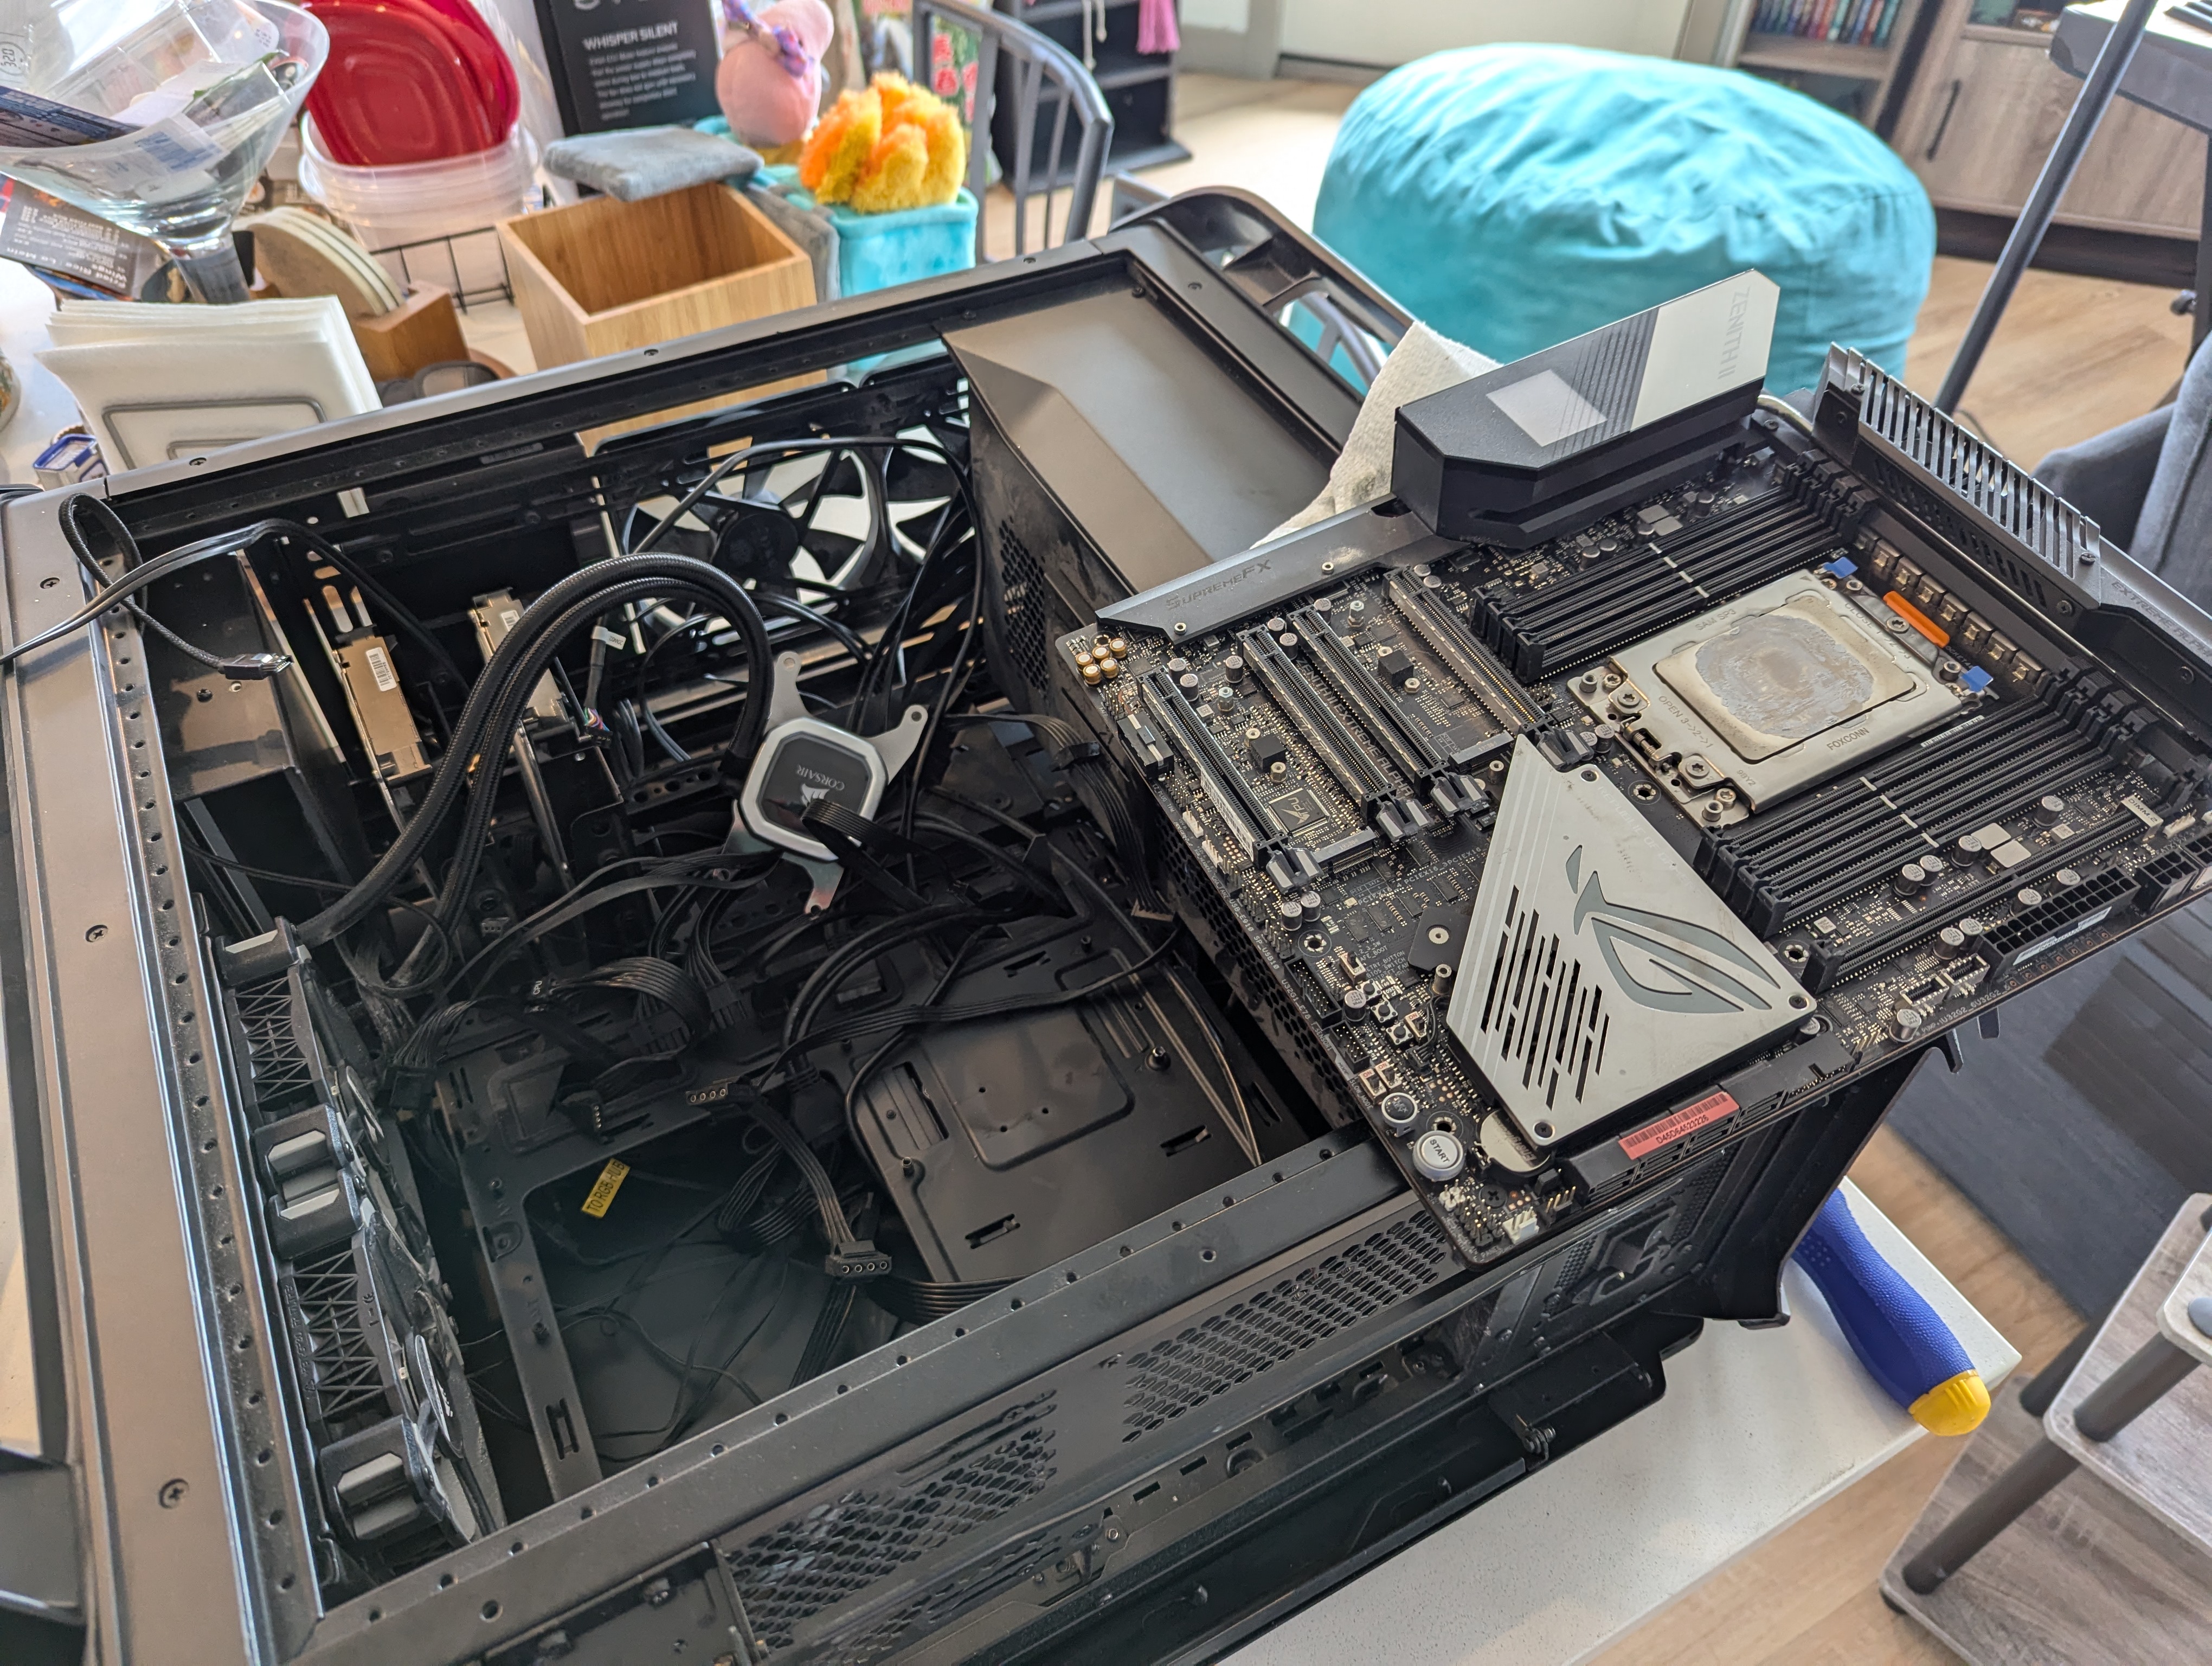
The first order of business (after the parts I ordered had arrived) was to lobotomize dear old Threadripper. With my eyesight getting worse as I age, the process took a bit longer than I bargained for.
The following carousel shows Threadripper being torn apart. I used the same case, cooler, RAM, M.2 drives, etc. Only the motherboard and chip were going to be replaced.
While pulling things apart, I was reminded of just how large Threadripper chips are. After cleaning the thermal paste off the processor, I took a side-by-side shot of the new chip and Threadripper side by side. The difference in size is immediately obvious:

That’s a serious “chunk of processor!”
Putting Humpty Dumpty Back Together
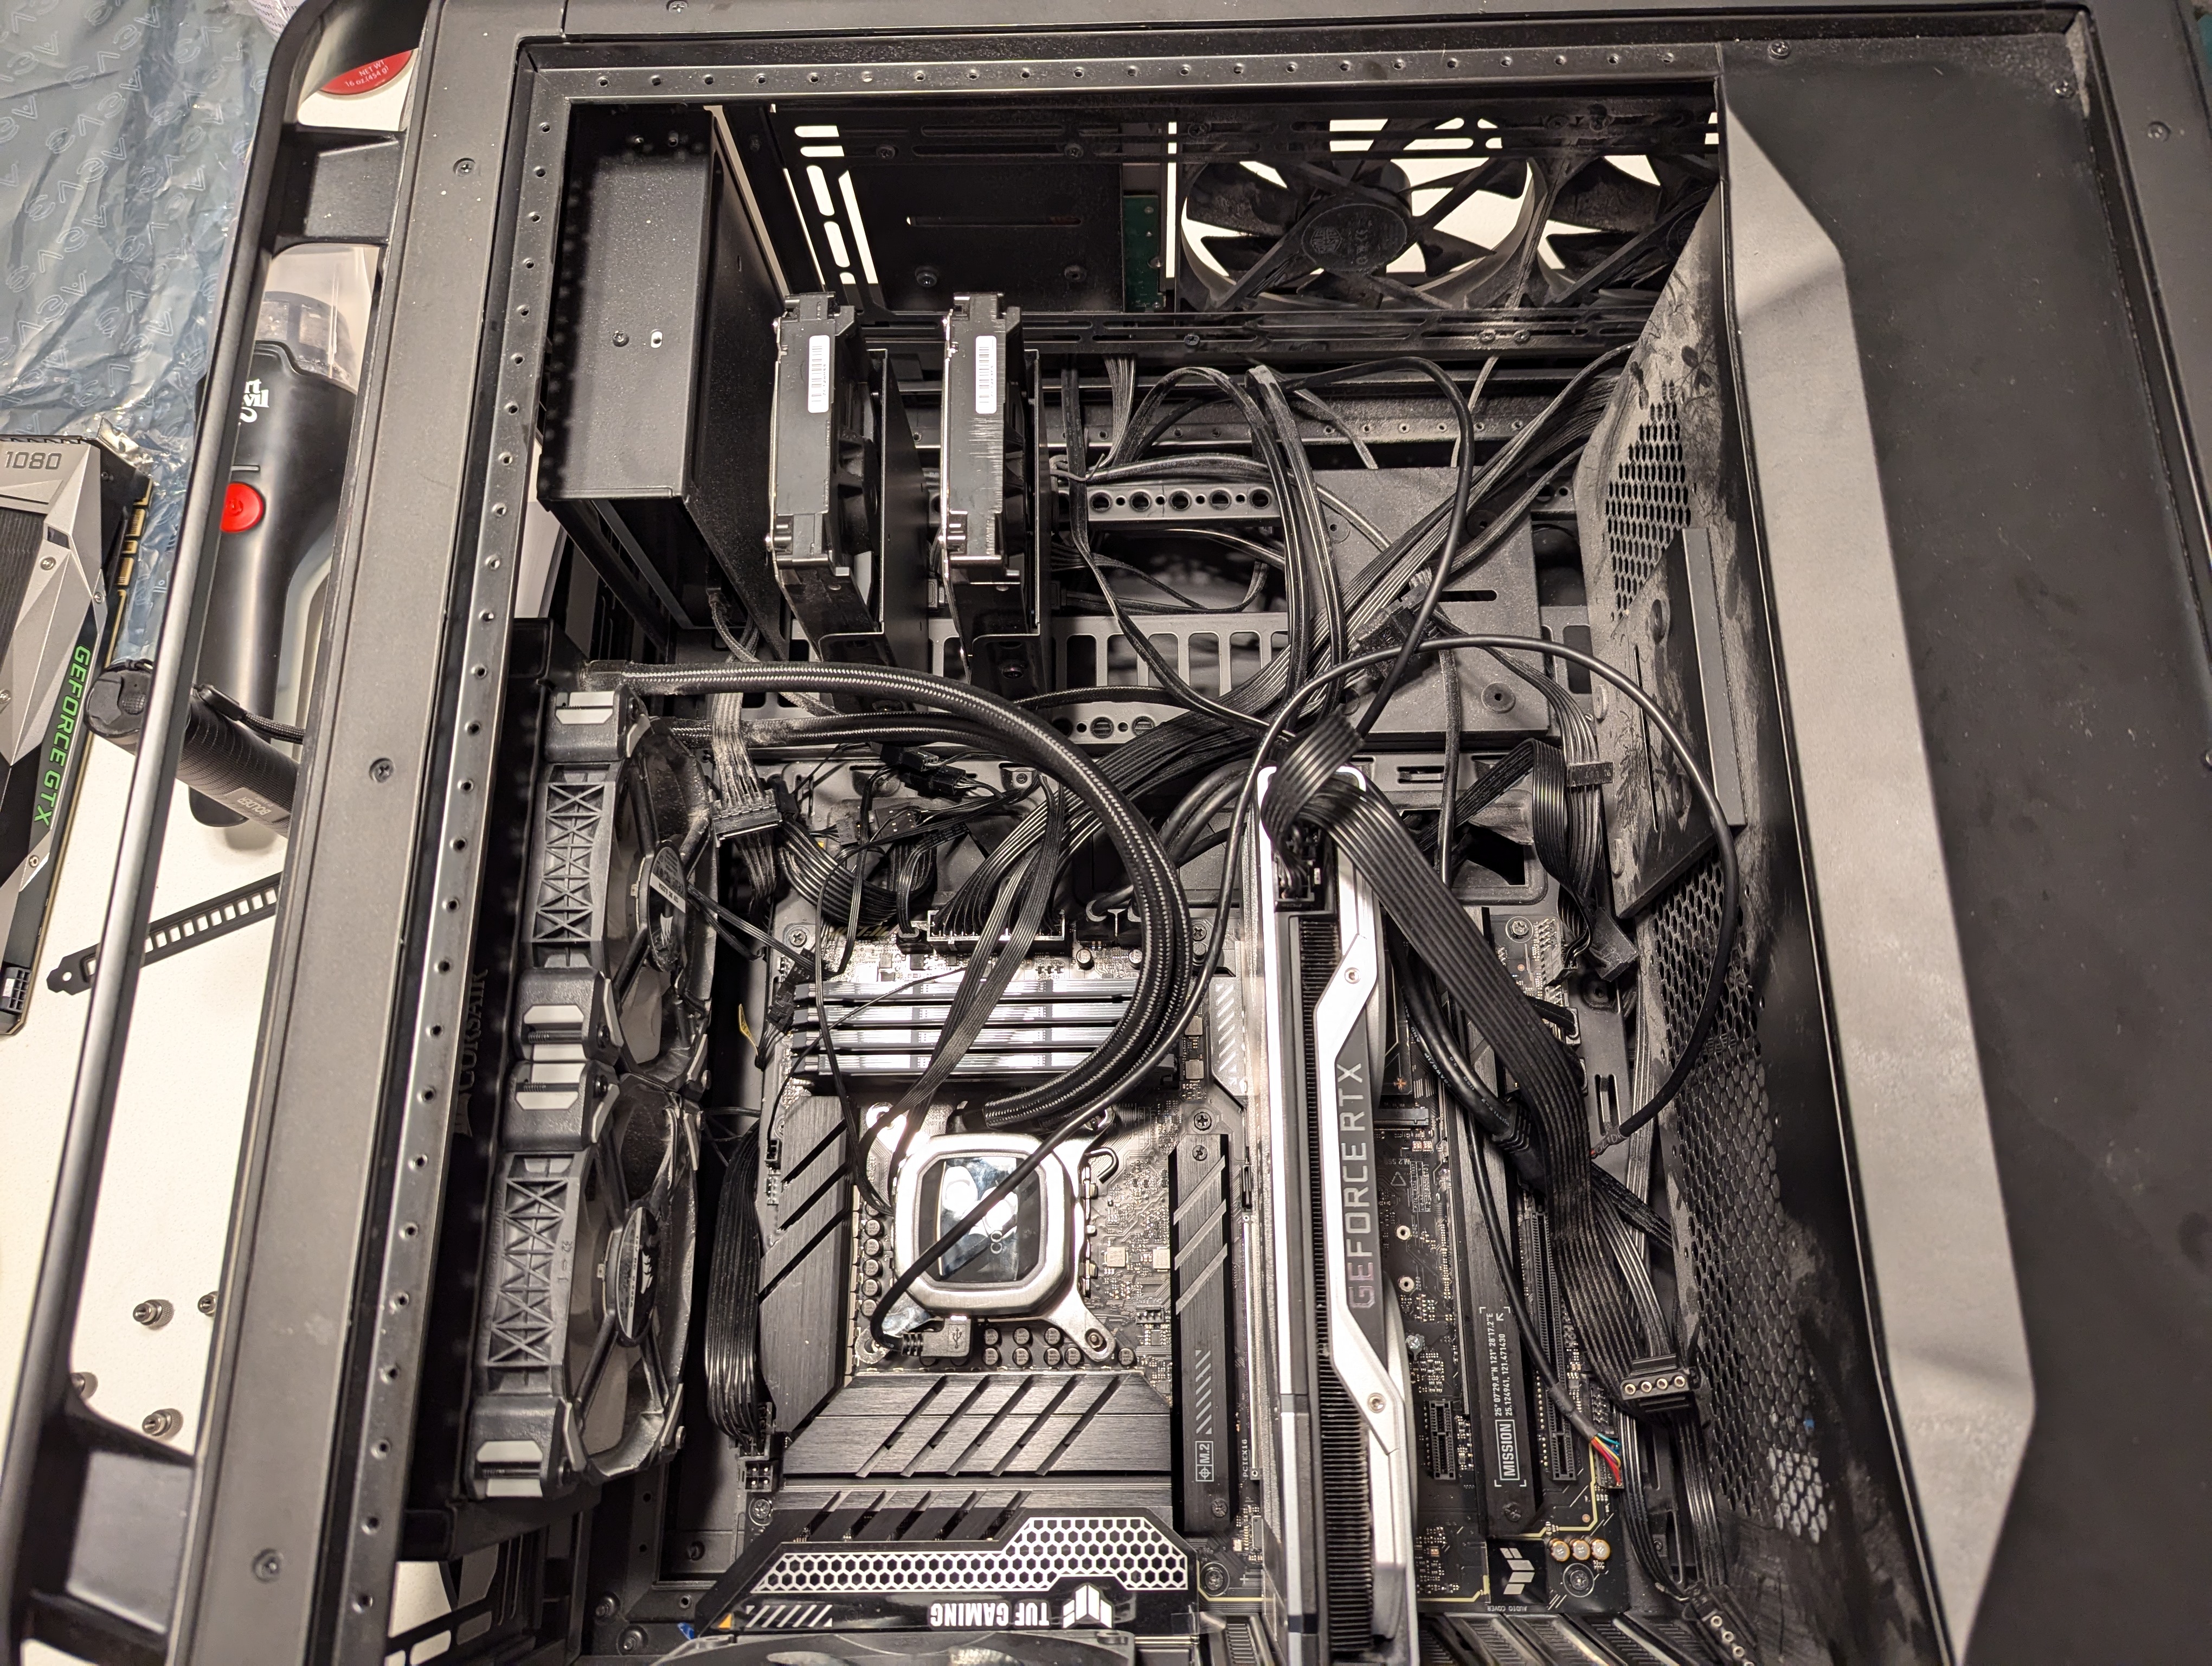
- Of course, what comes apart must be put back together. I swapped my three M.2 drives onto the appropriate areas on the new motherboard, got the chip and the motherboard installed, and nearly got everything ready to go. A couple of things I hadn’t planned on or remembered:
-
- The die size of the chips are very different, and I needed to fetch some old (but still retained) pieces to get the cooler to go on correctly. Luckily, the Corsair H100i comes with backplates for both Intel and AMD processors. It was just an matter of swapping one set for the other.
- I forgot what a ROYAL P.I.T.A. it was to get case connections for power, reset, etc., onto the correct motherboard pins. Of all the things that should have gotten easier over the years, this remains the same old mess it has always been. I almost called my daughter to come over after fiddling with it for about 20 minutes. She has better eyesight and steadier hands than me, but I eventually succeeded through repetition.
So, here are a few images of the system coming together.
And Today’s PSA
What would this project have been without a teachable lesson? It certainly wouldn’t have been something I’d worked on. That’s for sure.
I brought some unopened tubes of thermal paste from the house to get ready for the very last step: mounting the cooler heat sink on the CPU. So, I opened one of tubes, squeezed … and nothing happened. The thermal paste was hard as a rock! The same was true for the other tube.
So, I’d made it to the finish line only to trip in front of it.
There was no way in hell I was going to mount the heat sink without thermal paste, so I ran over to Best Buy the next day to grab a tube of this

So if you remember nothing else from this post, please mentally note this: thermal paste apparently hardens over time, even in unopened tubes. I’d never had it happen to me before, but it delayed my first boot attempt by one day.
The Results
So, I got everything closed-up and hooked back up. I then flipped the power switch …
… and son of a gun, it booted up! LEDs came on, the pump was running, and it actually worked on a true “first try” – not a Lego batman “first try.” :-)
https://www.youtube.com/watch?v=3KDnrGdpNZY
Since getting things set back up a week ago, the system has been running fine and without hiccups/glitches. I’m also noticing performance improvements, which is hardly a surprise, given the advances made in the last five years.
It’s hard to make and apples-to-apples comparison between the two processors, because since the 12th generation of Core processors, Intel has taken a hybrid approach to putting its chips together. The game used to be to see how many cores (of the same sort) could be crammed into a chip. Nowadays, Intel CPUs have p-cores (performance cores) and e-cores (efficiency cores).
The core I9-14900KF has 8 performance cores and 24 efficiency cores, whereas the Threadripper 3970x had 32 cores. So core counts are numerically the same, but what those cores do tends to differ. There’s also the issue of clockspeed. The Threadripper’s 32 cores all clocked-in at 2.4Ghz. The Intel chip’s p-cores are capable of reaching a whopping 6GHz, and that makes a difference on single-threaded activities (which a substantial amount of software still is) that can’t benefit from additional cores/threads.
Subjectively, I’m very happy with the performance of the “Son of Threadripper” – and I don’t expect that to change.
References and Resources
- Passmark: AMD Ryzen Threadripper 3970X
- Blog: harbar.net
- Asus: Red CPU QLED On
- TechTarget: What is Power-On Self Test
- Tech PowerUp: AMD Athlon FX-51
- Wikipedia: Socket sTRX4
- Intel: Intel Core i9 processor 14900KF
- Asus: TUF Gaming Z790-Plus WiFi D4
- Corsair: iCUE H100i RGB Elite Liquid CPU Cooler
- Intel: How Intel Core Processors Work


